Code
# Deletes the ENV_NAME along with all its packages
# (This one requiers you to confirm yes)
conda remove -n ENV_NAME --all
conda remove -n ENV_NAME --all -y # This one do not ask for confirmationThis page contains useful commands/tips for conda usage
# Deletes the ENV_NAME along with all its packages
# (This one requiers you to confirm yes)
conda remove -n ENV_NAME --all
conda remove -n ENV_NAME --all -y # This one do not ask for confirmation# List all environments
conda env list# creates ENV_NAME could use either with -n or --name
conda create -n | --name -y ENV_NAME JupyterLab enables you to use interactive kernels of conda, such that each of the kernel could have a conda manager and pip manager. And, there are two frequent kernels: - ipykernel - iRkernel
It is recommended to separate Python and R kernel usages, say have different conda environments for each individual Python/R kernel. And, having nb_conda_kernels in the environment that you launch Jupyter Notebook or JupyterLab.
For example, this is how I use it:
nb_conda_kernels in the conda environment that has jupyter lab, in my case, I use the base env.conda create -n -y python_proj ipyerkernel For Pythonconda craete -n -y r_proj r-irkernel For Rjupyter lab from base (by staying at base env), then when it launches you will be able to see the following: 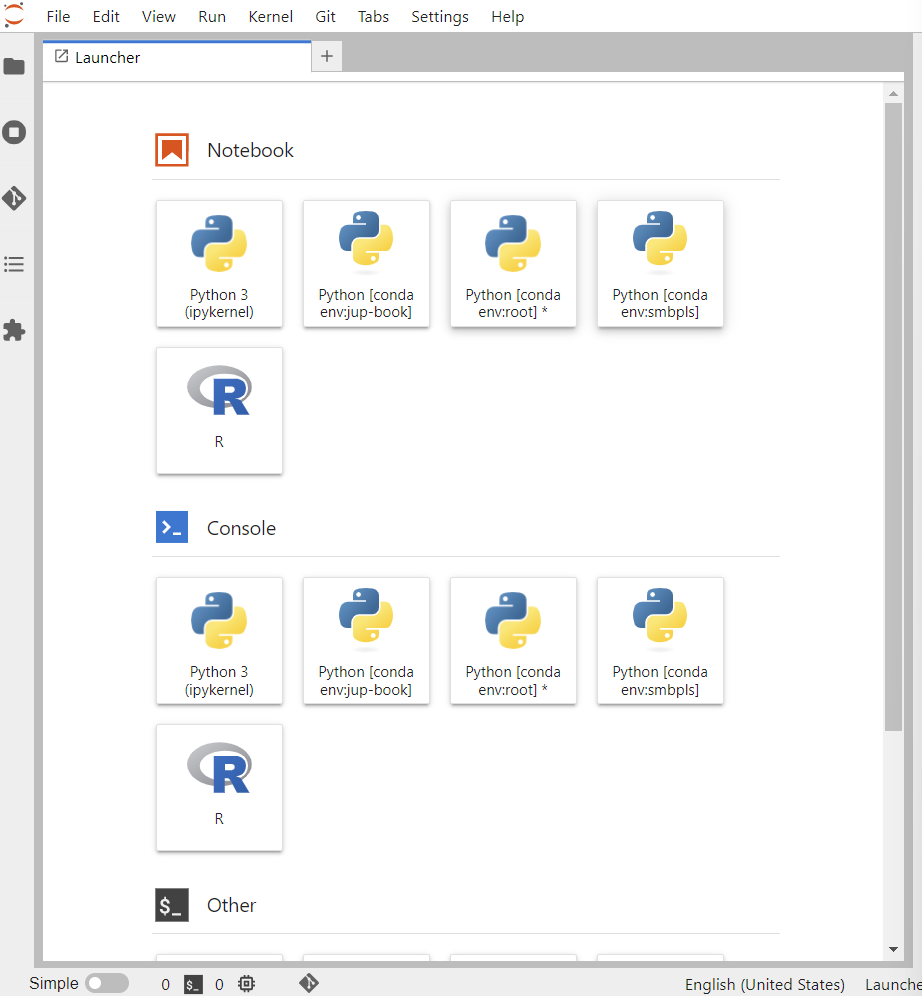
If you want to install packages to specified environments, do the following:
conda activate ENV_NAME , replace ENV_NAME of the one you like to deal and mess around withconda install -y PKG_NAME or pip install PKG_NAME, install the packages you need depending on where they are supported (NOTE: It supports most python packages, but not quite for R packages). If you like to use more R packages, I recommend Docker or renv.